See how you can control your smart devices without cloud connection. You’ll only need Yeti to communicate directly to your devices in your local network.
We already talked about the benefits of using local control instead of cloud control in this post.
This time, I will show you which brands Yeti is able to control locally and how they work. If you want to create a home controller with your tablet or phone and you don’t want to rely on third party cloud services this is exactly what you need.
Before we start, you need to download Yeti and create an account to be able to control your devices locally.


We require an account in order to provide the best service in case you would like to use Yeti in multiple devices or access premium features like charms and routines.
Once you've downloaded Yeti and you are logged in, you will be redirected to the brand selection menu. There, you can select any of the following smart home brands to make Yeti discover them.
Local control for Tp Link switches and lights
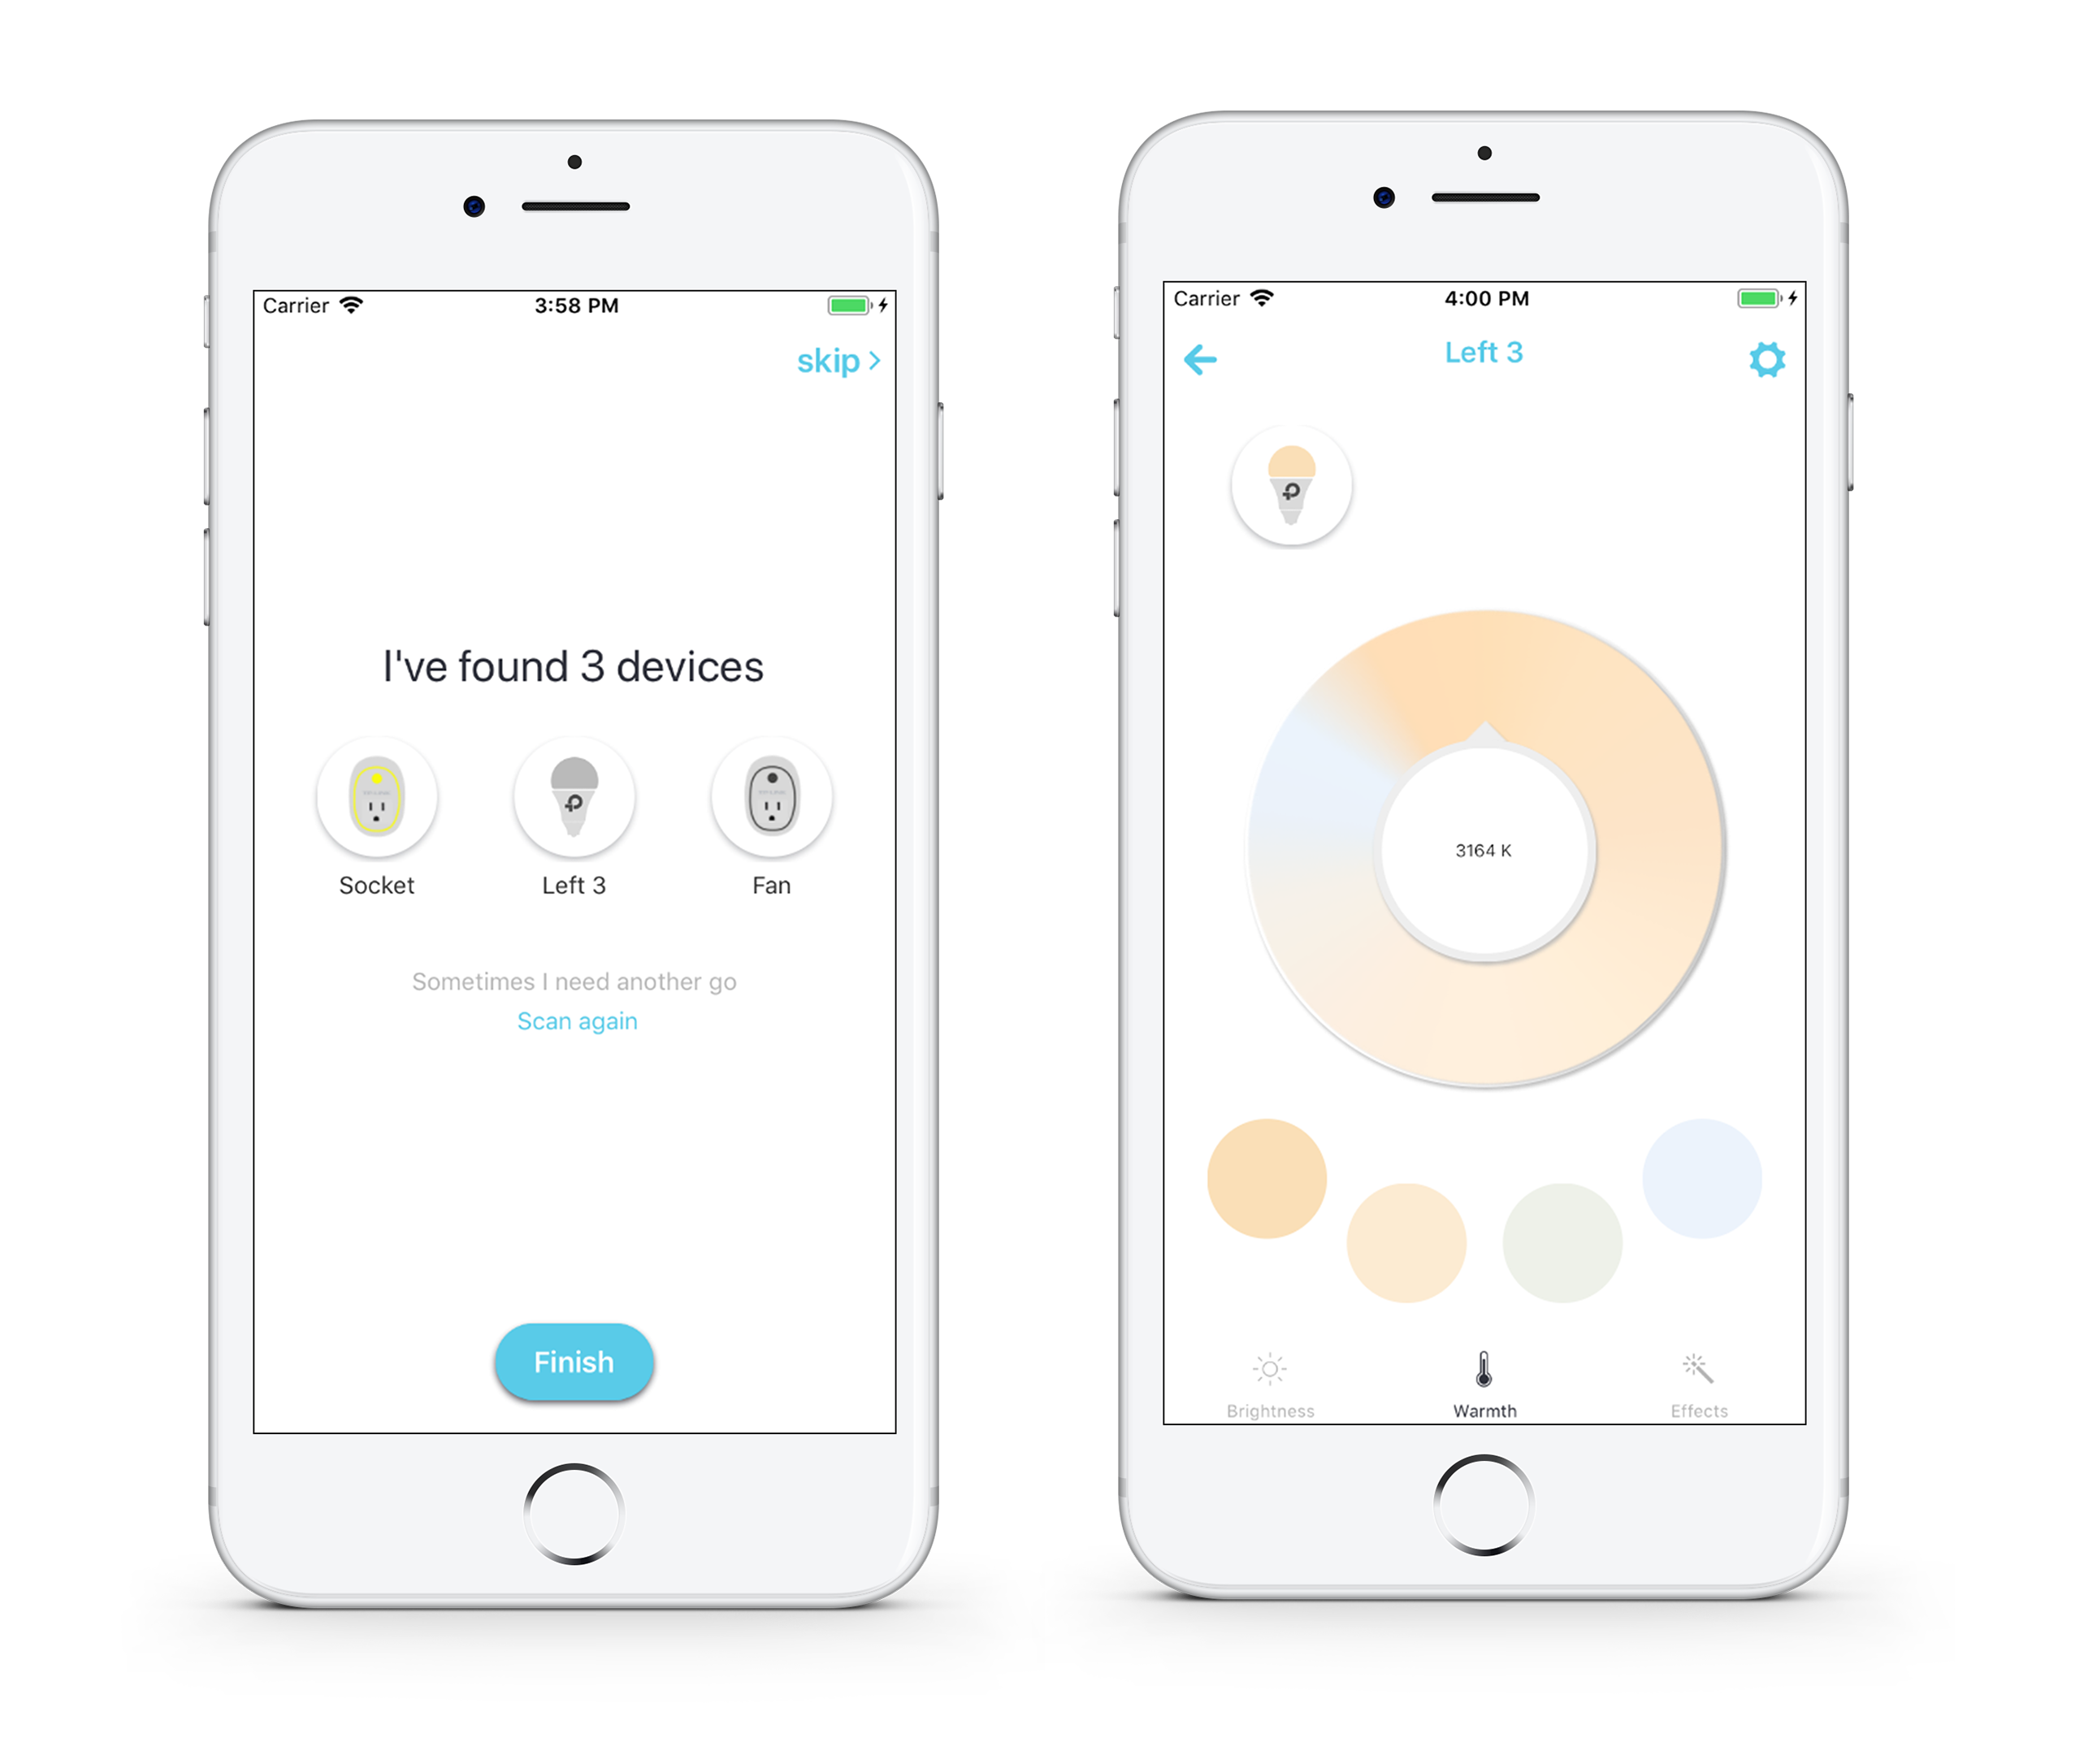
Yeti is currently compatible with all these Tp Link smart devices:
- Tp Link smart plugs HS100, HS110, HS120
- Tp Link smart wall switches HS200
- Tp Link smart bulbs LB100, LB110, LB120, LB130
Yeti will automatically identify any of your Tp Link smart home devices in your local network. They doesn’t need to be connected to the internet as discovery is done locally. You only need to have a wifi network. Once Yeti finishes looking for your devices, you’ll have all of them listed in the home screen.

Controlling your devices is as easy as tapping for faster action (on/off) or hold tap to access to the device controller to change brightness, color and temperature (in case you device support this).
All your devices' control will be done locally, no cloud connection is required.
Local control for Philips Hue lights
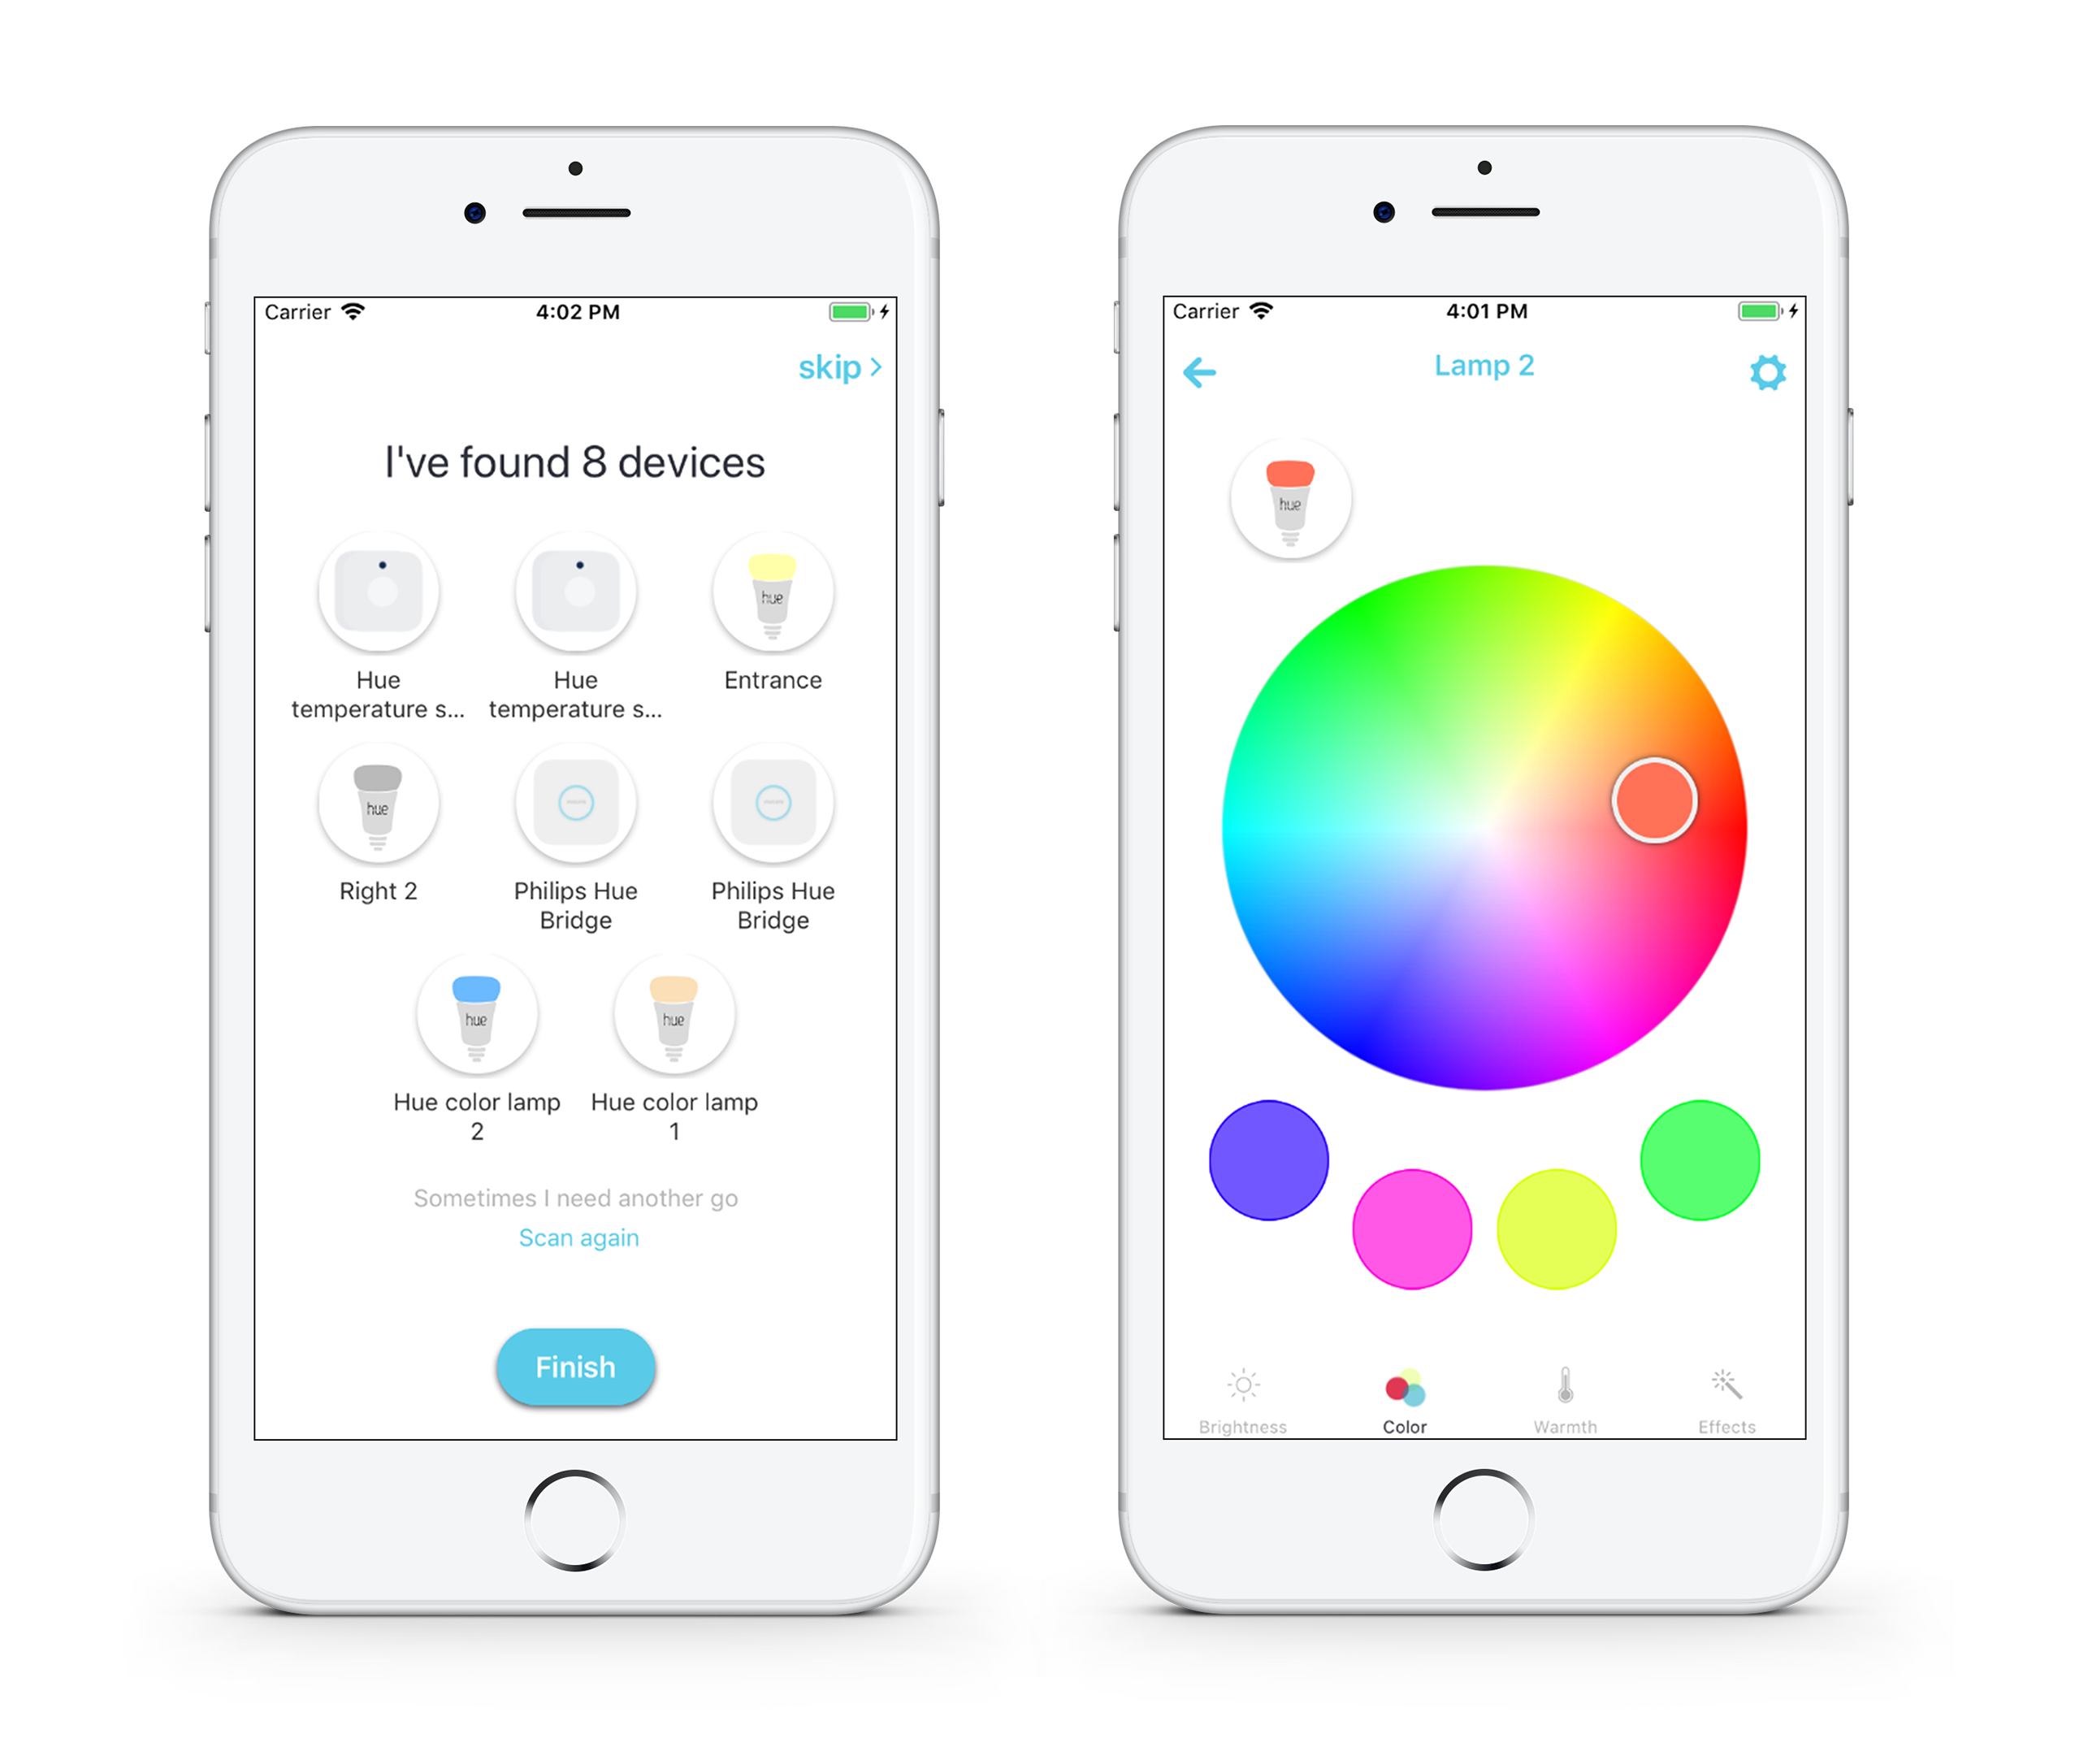
Philips Hue lights are one of the best smart home lights in the market right now. Using Yeti, you’ll be able to communicate directly with the hub without sending information to the cloud, so the action to control your lights will be faster than using the cloud control.
Yeti is compatible with all Philips Hue smart lights. So, if you want to start controlling them, you only need to discover your Hue lights in your local network and Yeti will do the rest.

The best part of controlling your hue lights locally is that you can control lights at the same time, even if they belong to a different Hue bridge. I recommend you this blog post talking about Controlling Multiple hue bridges at the same time with Yeti
Also, you still can connect your cloud account to Yeti so you can control your lights even outside your home, that’s up to you.
Local control for Sonoff Tasmota devices
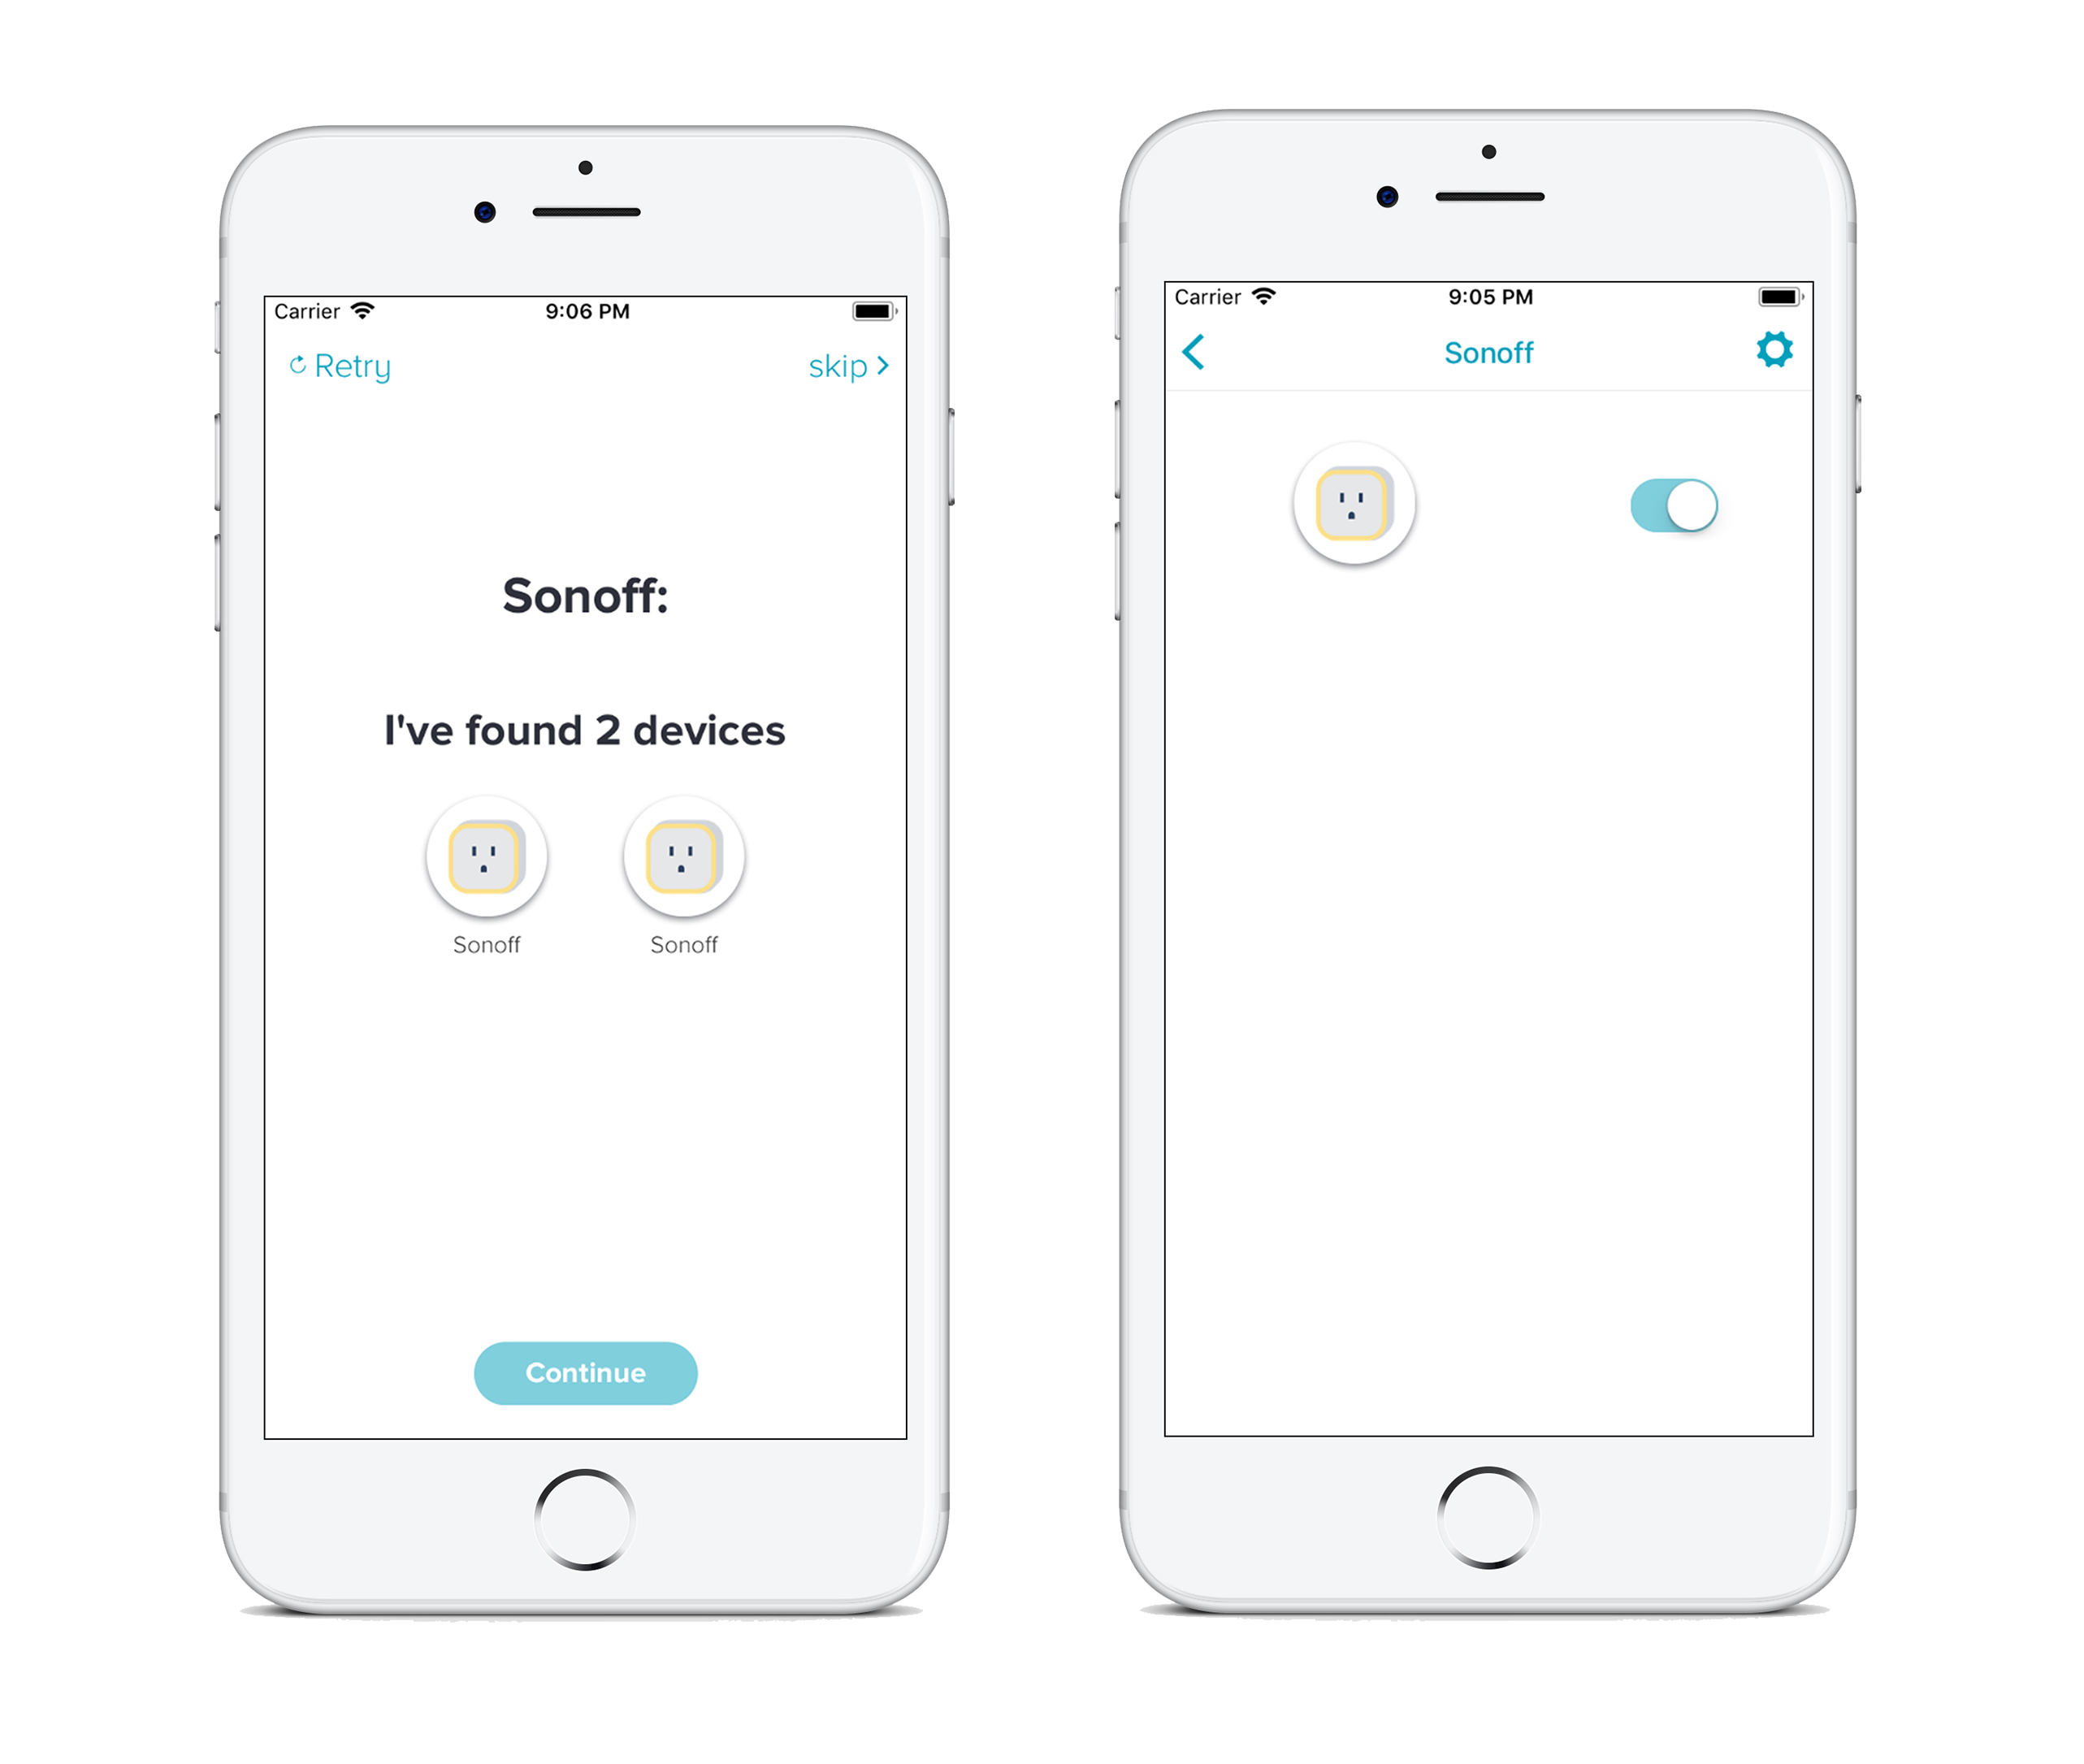
Sonoff devices are known for being one of the cheapest brands in the smart home ecosystem. Yeti isn’t able to control Sonoff devices with the original firmware. However, if you follow this guide to install Tasmota firmware and connect Sonoff Tasmota devices to Yeti, you can use the Yeti app to control all your Tasmota devices.
Open Yeti, tap on discover, introduce the IP Address of your Tasmota device and Yeti will look for it in the local network. After that, you can control your devices even faster than with the original Sonoff application. Try it!

Sensors and switches are already supported in the newest version of Yeti.
Local control for Yeelight lights
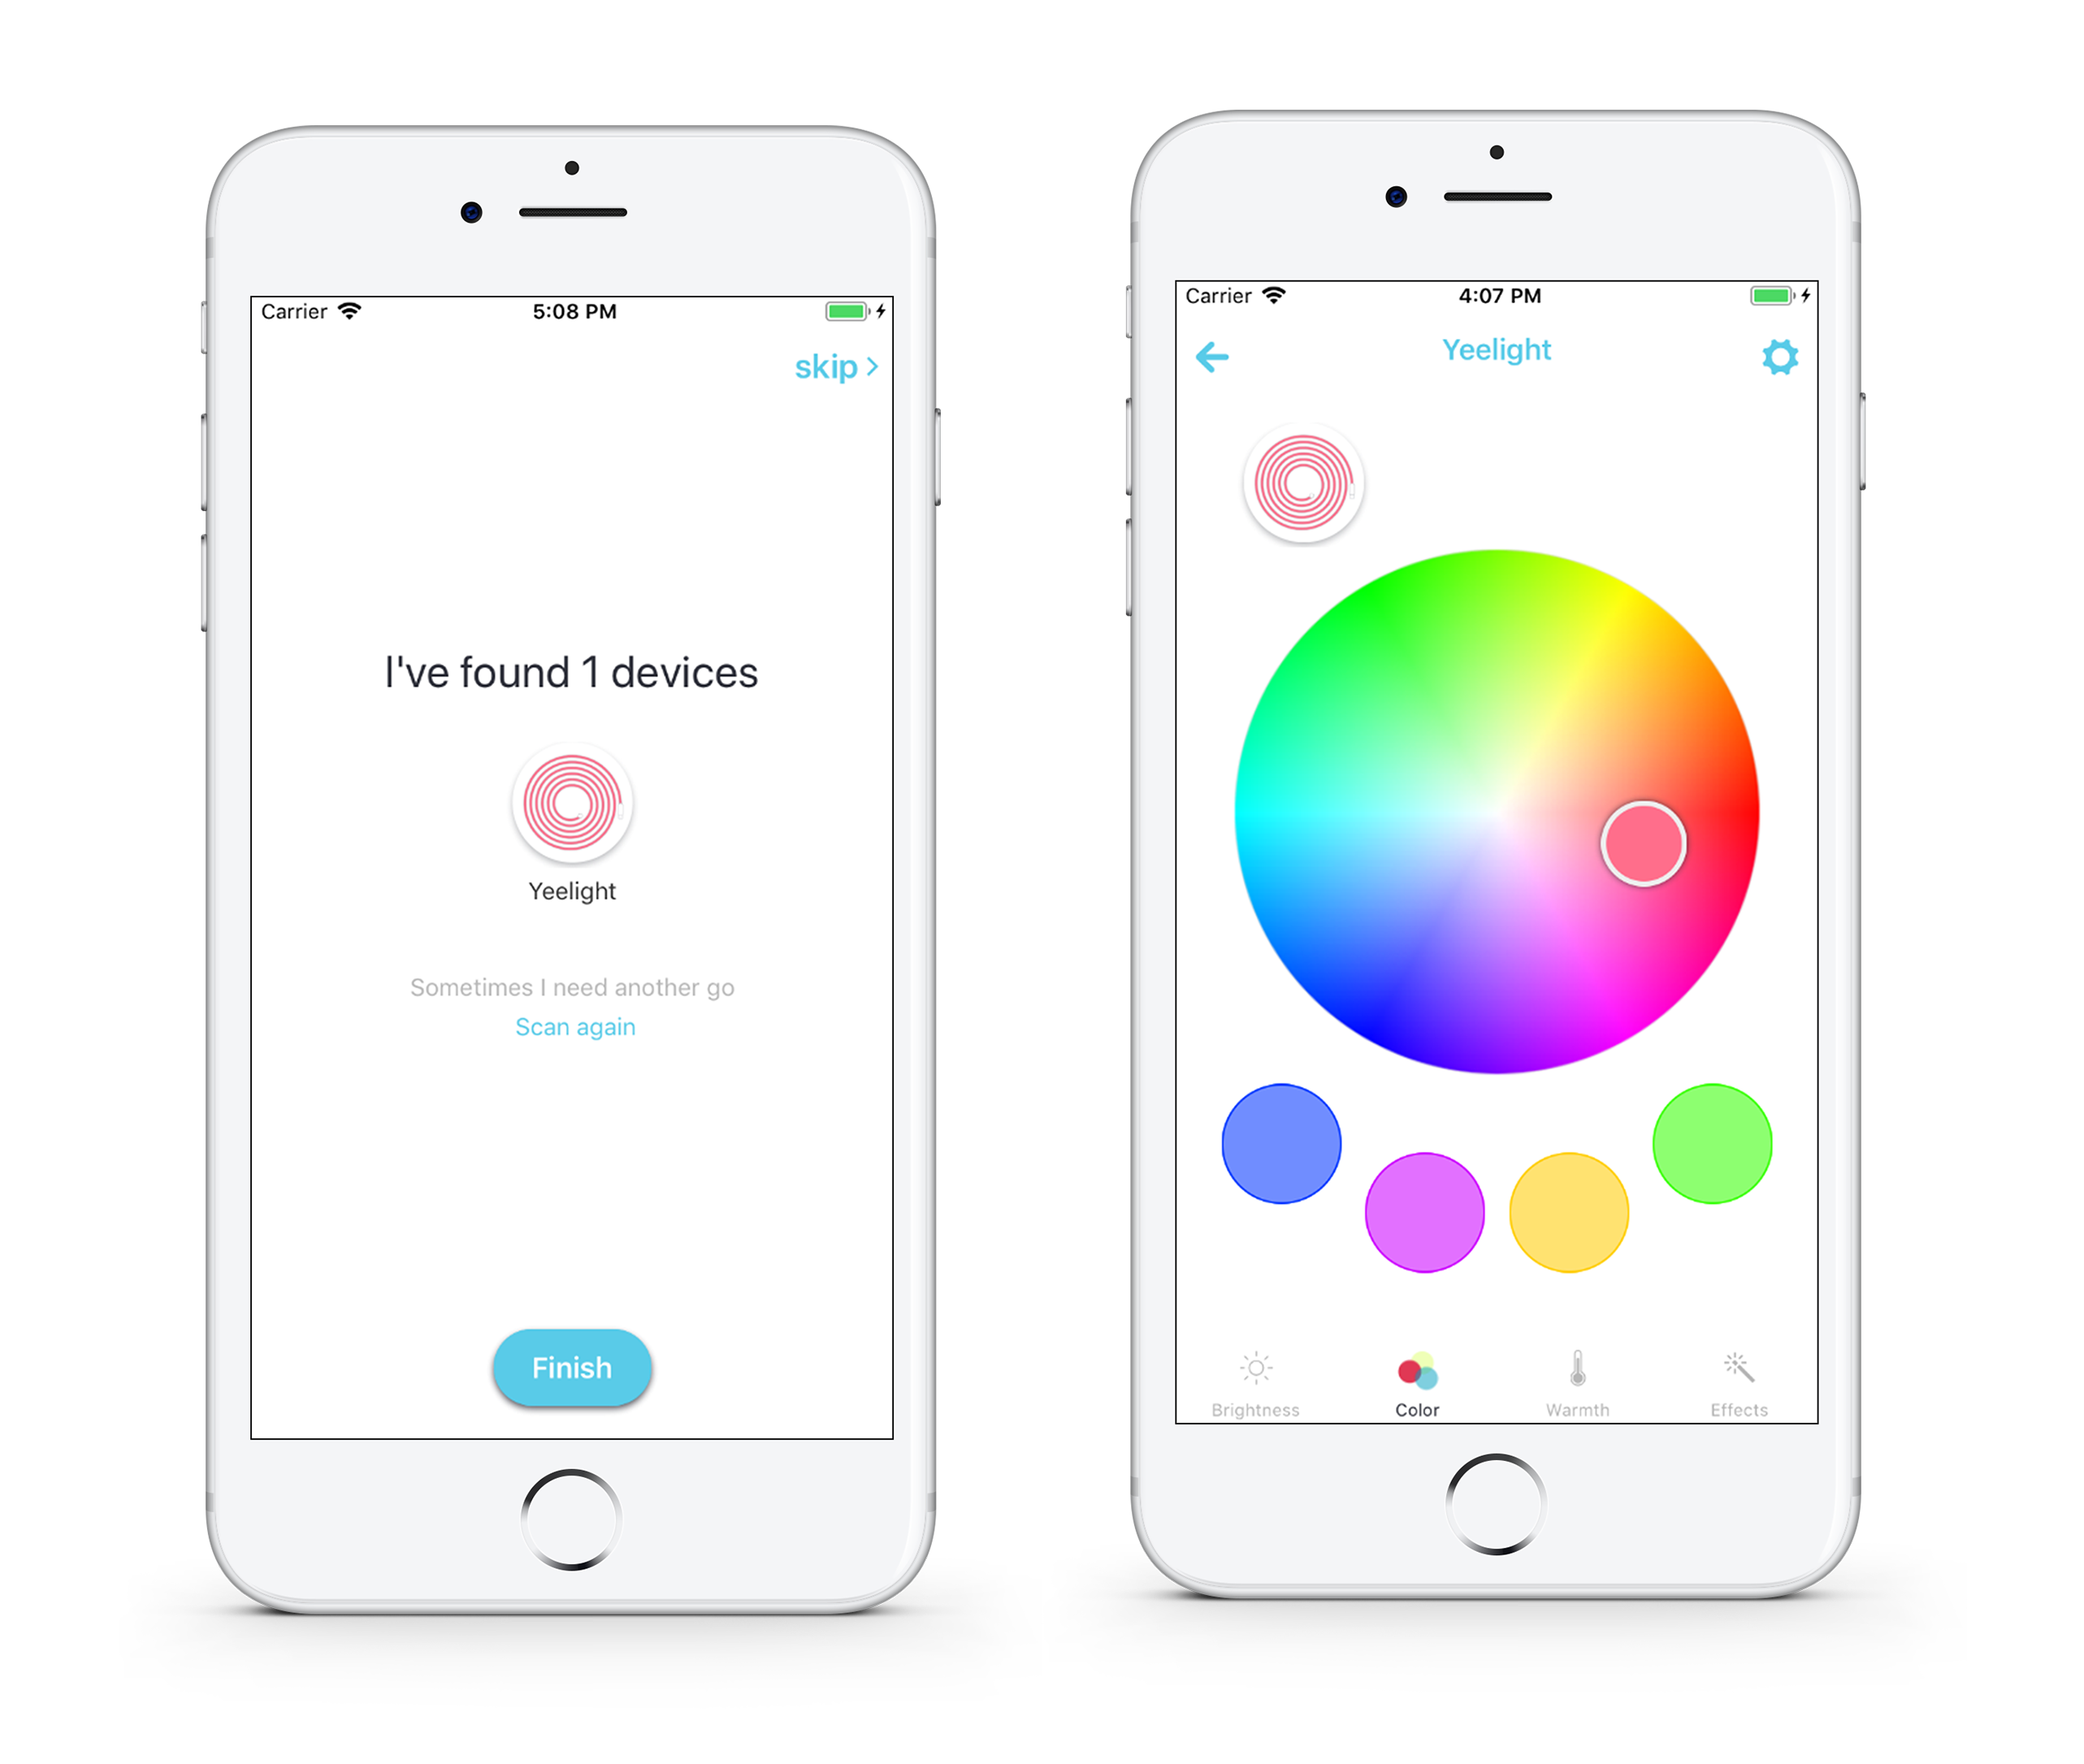
Yeti is currently compatible with all WiFi lights including bulbs and stripes.
In order to make your Yeelights discoverable by Yeti you need to enable the LAN control. You can follow this guide and see how.
After you enable the local control for your lights, select the Yeelight icon in the discover menu and tap next. Wait until Yeti finishes scanning your network.

Once Yeti finishes looking for your devices, go to the home menu and try to tap to turn lights on/off and hold tap in the widgets to access advaced controls like changing colors and temperature!
Local control for LIFX lights
Using LIFX with Yeti you will be able to control your lights locally or through the cloud.
To connect your LIFX with Yeti you just have to go into the brand selection menu and select LIFX, there's no need for any cloud account. If you want to have access to your lights when you are outside home, you also need to link your LIFX account with Yeti.
Now that you’ve selected whatever option you want, tap on next. Yeti will start discovering your devices and once Yeti discover all of them, you can go to the home view.

In the home view you can tap in the light widget to turn it on/off and also hold tap in the widget to access advanced controls (changing brightness, colors and temperature)
Local control for Xiaomi smart plugs and sensors
Xiaomi was one of the new brands recently added to Yeti. In order to provide the best experience you need to follow this guide first to see how you can enable LAN control and make devices discoverable to Yeti.
Yeti is currently compatible with:
- Xiaomi smart home switches
- Xiaomi smart home sensors
Once Yeti has found all your Xiaomi smart home devices, you can control them locally. Yeti doesn’t rely on cloud services to control your devices when you are in your home network.

Right now, sensors are only a read-only devices. This means you can't create routines with these sensors.
Local control for Wemo smart plugs and wall switches
Last but not least, we have Wemo smart home devices. Yeti is compatible with almost every Wemo device:
- Wemo Smart plugs
- Wemo Smart wall switches
- Wemo dimmers
- Wemo lights
With Yeti it’s really easy to control these devices and because of that, some of our users reported that reliability improves with Yeti.
You only need to go to the select brand menu and tap on Wemo. Then Yeti will discover all your devices in your network.

After a few seconds, Yeti probably will have found all your Wemo devices. If don’t, please give Yeti another try, sometimes it takes a little bit for Wemo devices. Now, if you go to the home view where all devices are shown, you can tap in the widget and hold tap to access advanced device details.


